A big part of the Senior Project experience is professional presentation of your work. Whether painting, drawing, or photography, you work needs to be ready to hang and presented in a professional manner. But “professional manner” is not one thing or one way of presentation, many techniques can work in a professional gallery setting. Professional framing techniques do share some properties, though.
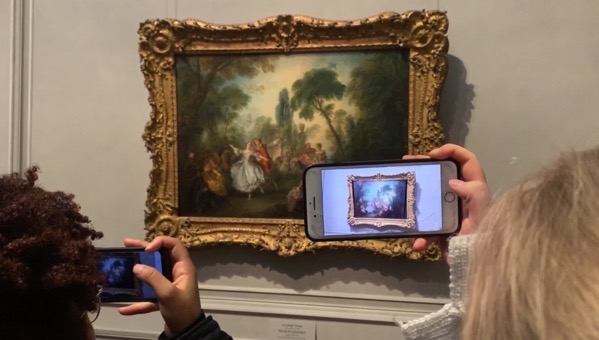
1. The frame doesn’t detract from the work. Frames that are bright colors, have lots of texture, or are ostentatious, can draw the eye away from the work. You might ask “But what about filligreed, gold-leafed giant frames on oil paintings in the National Gallery of Art?” It is true that styles and preferences have changed. Those works and those ostentatious frames were often seen as status symbols and representations of wealth. The contemporary style is to keep the viewers eyes in the work, not looking at the painting or photograph as an object on the wall. (This, like all of the “rules” presented here, is dependent on the artist’s vision. If the artist wants us to consider the paintings objectness, then this might be one way of doing it.)
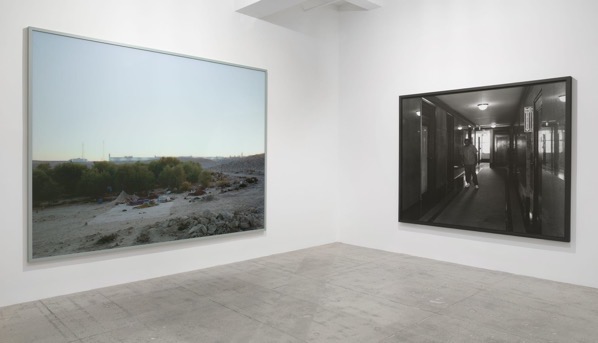
2. The frame is either tight to the work, or is separated from it by a comfortable margin. This separation could be a mat board or by the white of the paper in regards to photos. You can tell if a margin is too close if you feel tension between the edge of the work and the frame, or if the size or shape of the negative space cause you to see it as a shape in and of itself. The gestalt principles of continuation and closure, as well as figure/ground need to be heeded here. Whereas in the work of art, you want to draw the viewers eyes towards implied shapes, you don’t want to do this in the negative spaces around your work.
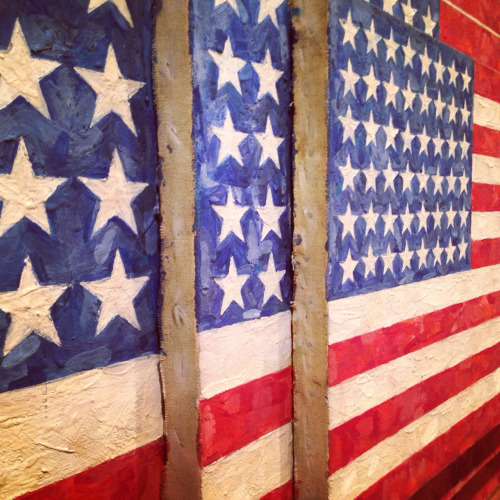
3. Paintings can reveal their canvas edge or be framed close to the canvas (a small gap between frame and the edge of the canvas works well). I the edge is revealed, it needs to be dealt with as part of the work. Generally this means it is painted as part of the picture plane, or at least some color wraps around the edge.
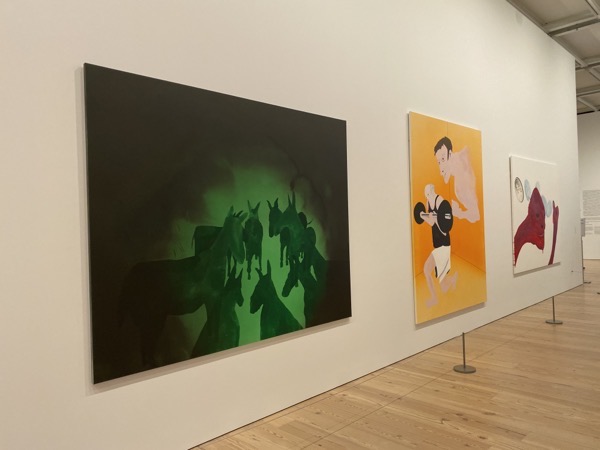
4. Paper works and photographs can be framed using a mat board or can be suspended on a backer-board. But the works should not touch the glass, as this can damage the work. You can use spacers to separate the work from the glass. If a photo goes close to the edge of the paper it is printed on, a mat board is a good choice as it keeps the edge of the photo from distracting the viewer.
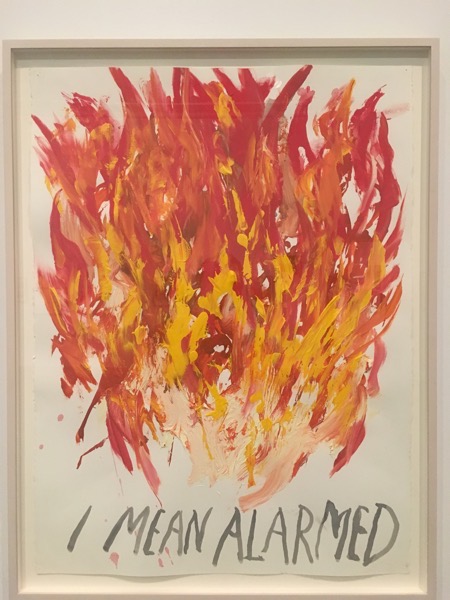
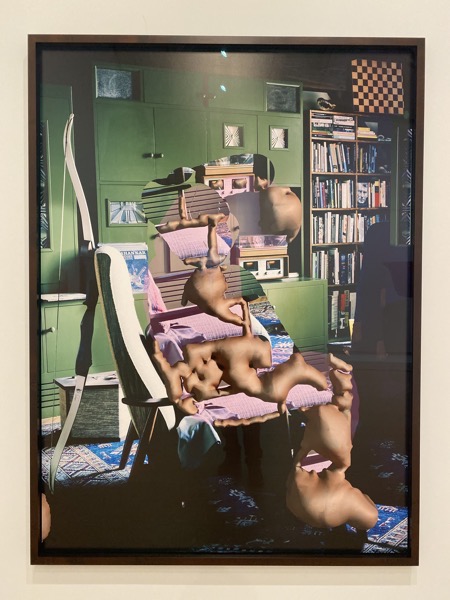
5. Matboard or backer board should be a neutral color. Stylistically, colored or decorative mat boards look….decorative. This detracts from the work.
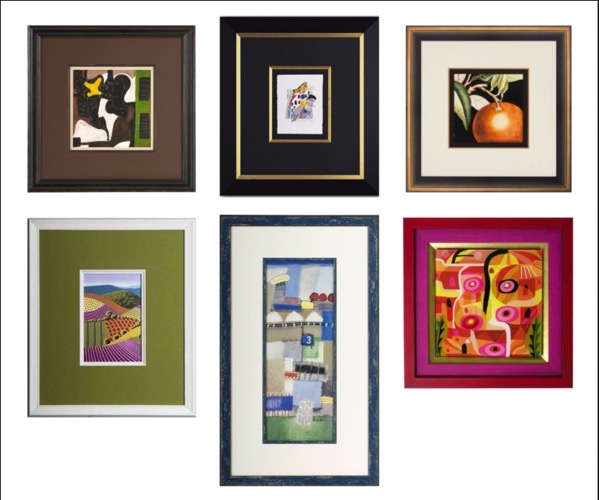
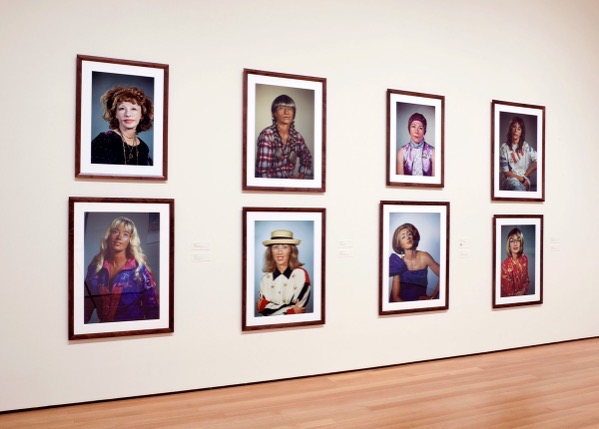
If you are working in diptychs and triptychs and groups, your framing needs to be identical or deliberately different. Think about the principles of repetition and variety.
Remember, presentation is a component of the work! It should be deliberate!
Hanging Hardware
The hardware you choose really depends on the work and the frame you have chosen. Simpler is better, but security and dependability is a must.
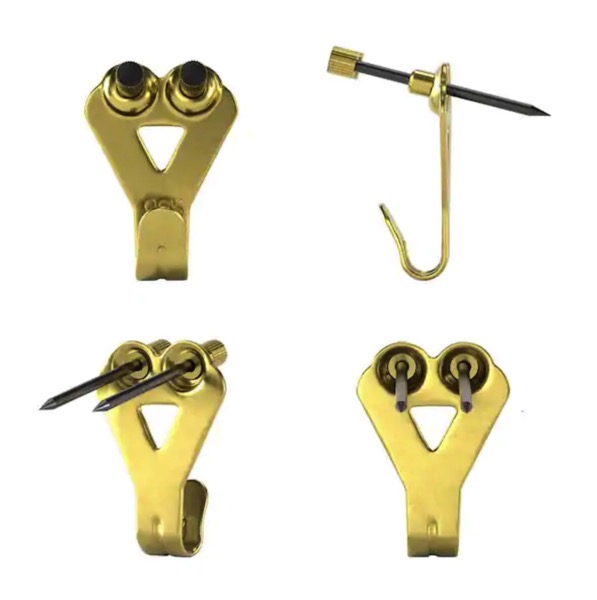
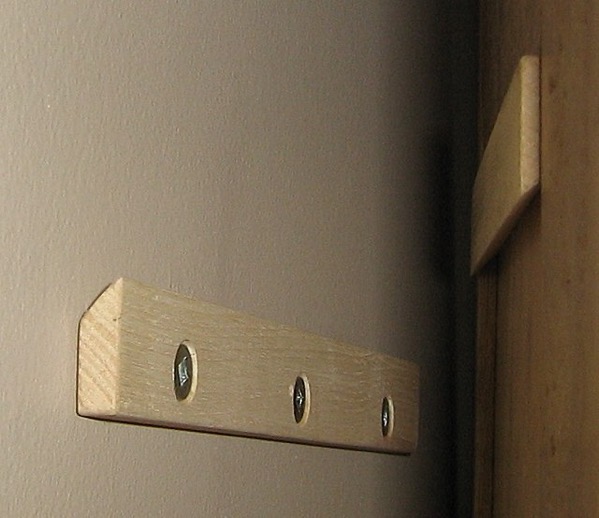
If a single nail or screw will hold, that is fine. If your work is big, you might need 2. But there are many ways to hang. Hooks, wire command strips, magnets. We will demo some options in class and on gallery prep day.
Properly-Wiring-Art-for-Gallery-Presentation-and-Security.pdf
youyouuuujjjjukjkjkkkkkkk;salkdjf;lksadjf;lksadjf. adfvasdfg