n this project, you will work in small groups to shoot video of a simple action. This action can be anything your group chooses: drinking a cup of coffee, moving through a building and up the elevator, reading a book and drinking tea. Your subject should be something simple and everyday. It is important to forget the idea of an overall story or narrative. You are trying to describe a simple action visually and sequentially.
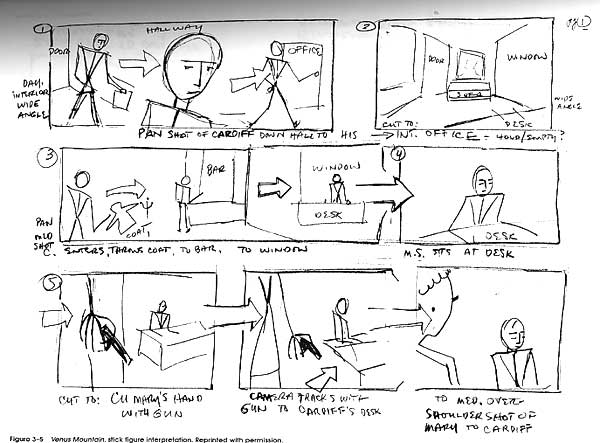
Your group will create a simple storyboard to describe some of the shots you plan to get. Try and tell the story of your action using different kind of shots: wide, medium and close up. Pay attention to where the camera is located as the video describes.
You will shoot as group in class. Try to get all the shots from your storyboard, but do get some other shots as the shoot progresses. Make sure to include enough pre- and post- roll for editing purposes.
After shooting, each member of the group will take a copy of all the footage and edit a version. At the end of the project, each person will hand in a unique copy of the finial video.
When editing your video, make sure to think about using tempo and timing to create a deliberate style to your scene. Make sure each shot follows as naturally as possible from the last to create unity. Use transitions, effects and titles to finish the work and make it uniquely yours.
Video should be exactly 9 shots.
You can have ambient sounds, but do not add music.
Shoot with your phone horizontal, not vertical.
Pay attention to backgrounds. With a camera like the phone, depth of field is not always possible, so avoid distractions.
Edited and exported video due next class.
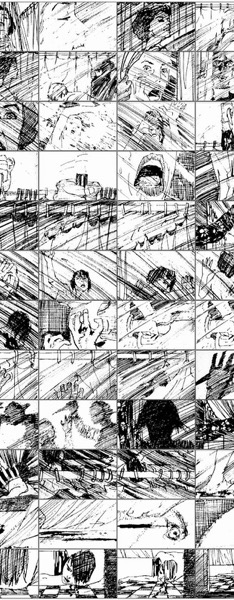
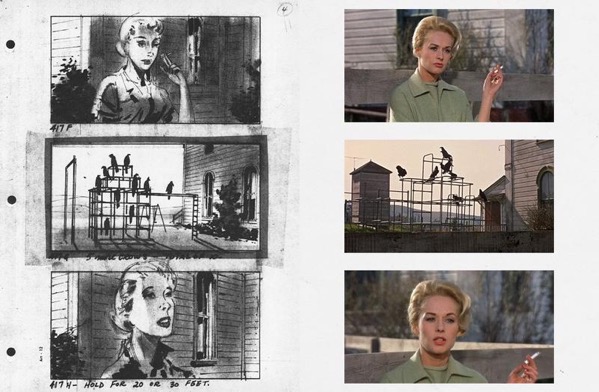
Here are some example storyboards:


Video Editing Lecture notes
Steps:
1 Set up project, make sure project file, media and scratch disks are set to same folder!
2 Import media
3 Select chunks of clips in source window by marking in and out points
4 Drag marked clips from source to timeline to build project
5 add transitions and effects
6 export media to h.264
Big concepts:Video projects are collections of files, not just single files.Media management basics.Codecs, containers and compression. Definitions of each and editing vs deliveryEditing needs extra time around shotsDeveloping a workflow.Rendering, what is it?
Premiere proDifference between fcp and Adobe
Opening projectMake folder on workspaceRemind not to work on server disksChange scratch disk to that folderSelect new or use recentsScratch disks set to external driveSave new project as.To externalMake folder for all, Show how folder has all project files in it after savingShow how to back up folder to server drive
In programDifferent views- set view to default editingHighlight parts of interfaceMenuToolbarSource monitor,effect controls,
Project window, media browser, effects library-describe functionsTimeline-shuttle controlsProgram window- shows edits- view final piece
Import media, many ways, add from media browser to project window
Open assets in source window, set points and manipulatedouble clicking on clip in timeline brings it up in source monitor
Find usable segment in source monitor, use i and o to set points, then drag that section to timelineShow play controls, jkl, arrow keys\ zoom to fit
Manipulate clip ends by hovering over edge of clip, clicking and dragging.Show edit tools, ripple, rolling, move forward and back
Apply effects by dragging them to clips in source window or timeline, if in timeline, adjust controls in source window and see effect in project window.
Show contextual controls examine options and focus on speed duration
Save and export, show preset- h264