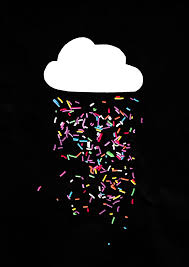
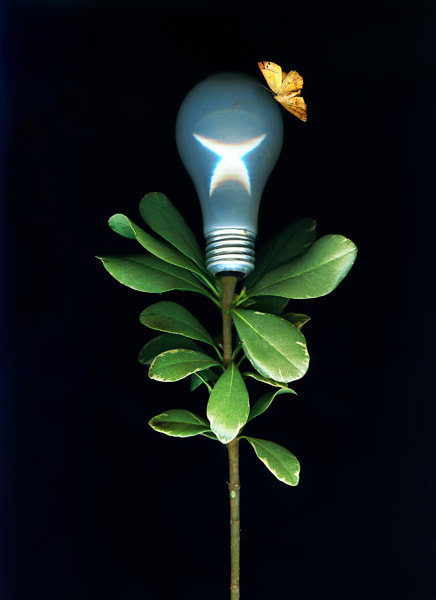
Scannography
Scannography (or Scannergrams) is a type of image making that involves using a flatbed scanner to capture images, rather than a traditional camera. The process involves placing objects directly onto the scanner’s glass surface, allowing the scanner’s light to illuminate the subjects and create highly detailed, often surreal, images.
Scannergrams and photograms are both techniques for creating images without a camera, but they differ in process and tools. Photograms are made by placing objects directly on photosensitive material and exposing it to light. The covered areas block the light and remain white, while the exposed areas darken during development, resulting in monochromatic images. This analog process requires a light source and darkroom chemicals.
Scannergrams, on the other hand, are created digitally by placing objects on a flatbed scanner. The scanner’s internal light captures detailed, color-rich images, with sharp focus on areas touching the glass and a natural blur for objects farther away. While photograms rely on traditional methods rooted in photography’s history, scannergrams are a modern evolution, utilizing contemporary technology. Both techniques explore texture, shape, and abstraction, offering unique creative outcomes depending on the tools and aesthetic goals.
In this project, Students will create artistic scannergrams using found objects and develop essential digital imaging skills, including resizing, scaling, and preparing files for print and web.
Part 1: Creating Scannergrams
1. Concept:
Students will explore the art of scannergrams by collecting small, visually interesting found objects (natural, household, or personal items). The goal is to arrange these objects on a flatbed scanner to create a visually engaging composition that emphasizes texture, shape, and contrast.
2. Process:
• Use the scanner to capture high-resolution images of the objects.
• Experiment with layering, movement, and the interplay of light and shadow during the scan.
• Submit at least three distinct compositions that showcase different creative approaches (e.g., minimal vs. dense arrangements, storytelling, or abstraction).
Part 2: Digital Image Preparation
1. Resizing and Scaling for Print and Web:
• Learn how to adjust image resolution (DPI) and dimensions using software like Photoshop or a similar tool.
• Resize your scannergrams for print at 300 DPI (e.g., 8×10 inches) and for web at 72 DPI (e.g., 1200 pixels on the longest side).
2. File Renaming:
• Rename files according to a standardized format (e.g., “Lastname_Scanography_Print01.jpg” and “Lastname_Scanography_Web01.jpg”).
3. Submission Requirements:
• Submit the original high-resolution scannergrams, resized versions for print and web, and properly renamed files to your Miro board. Include a brief reflection on the creative process and technical skills learned.
Part 3: Homework
For next week: Now that you have an idea of what scanner art looks like and what you can do with it, find a compositionally interesting photo out on the web and use that composition with a new work of scanography, You are not trying to emulate the subject matter, just the composition.
Learning Outcomes:
• Students will gain hands-on experience with creating scannergrams as a digital art form.
• They will develop technical skills in image resizing, scaling, and file preparation for different outputs.
• They will understand the importance of organizing and naming files systematically for professional workflows.
Photogram history:
https://www.tate.org.uk/art/art-terms/p/photogram
https://moholy-nagy.org/photograms/
https://www.dailyartmagazine.com/10-most-famous-rayographs-of-man-ray/
Scannography


