Casting Project
In this project, you will construct a small sculpture
designed in clay and cast in cement. Your sculpture can be representational, abstract, or non=representational.
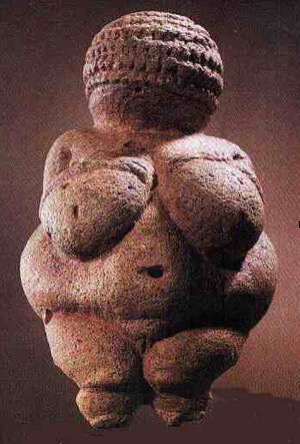
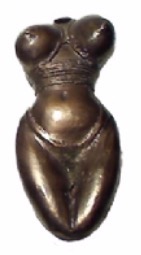
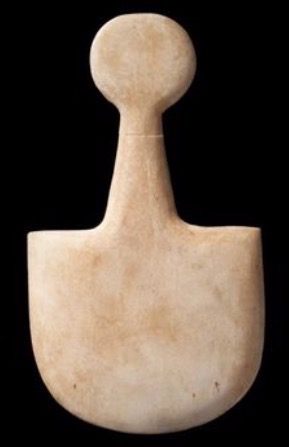
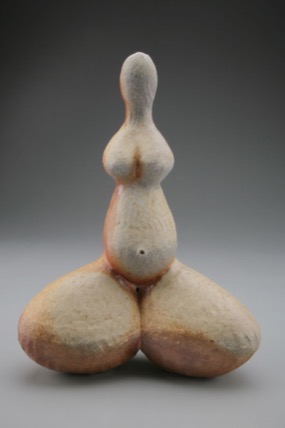
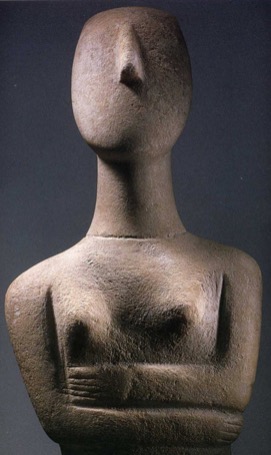
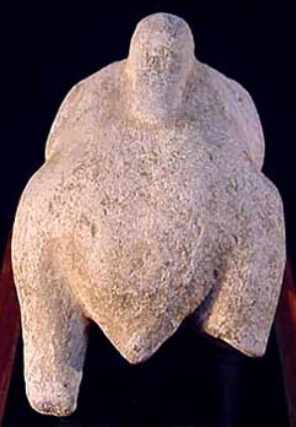
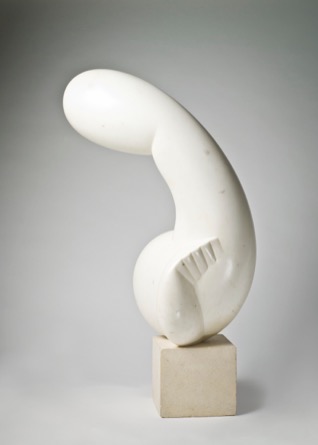
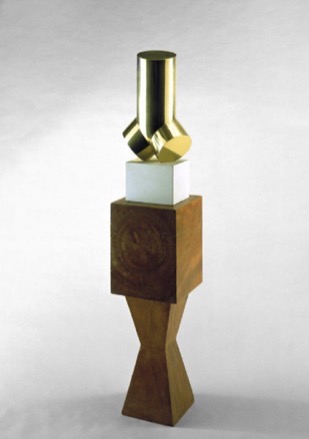
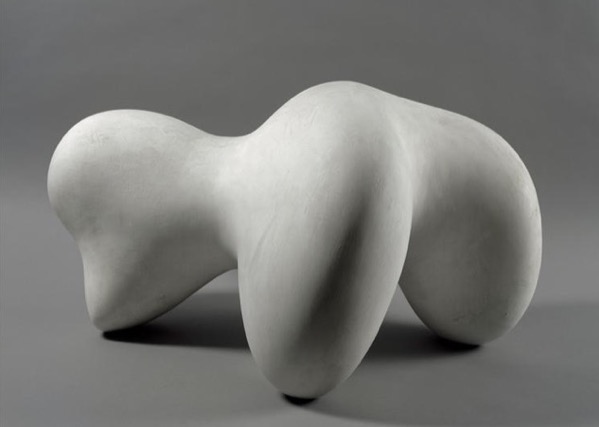
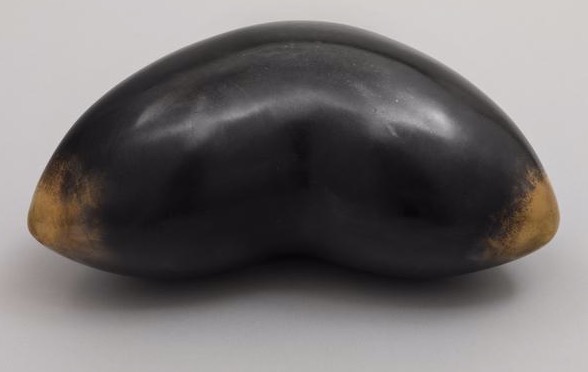
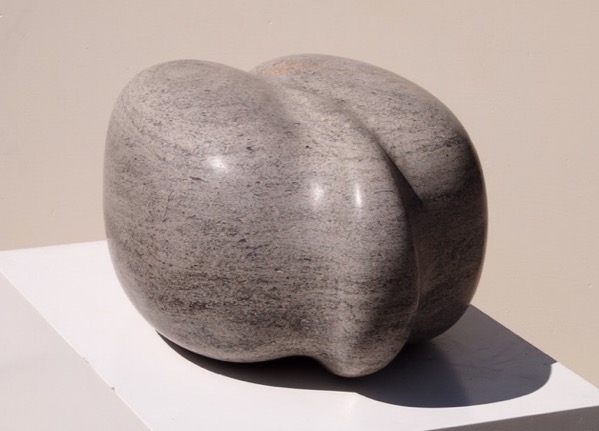
It can be inspired by the fertility figures/modern figurative abstraction.
After choosing your subject, design your work using the principles of emphasis
and economy to direct the viewer’s attention to a specific visual or conceptual
aspect of the form or object.
You will complete no less than 5 sketches or small models in clay before
starting the first full size positive. These models should be in the 2” to 3”
range. Use these to get an idea of the dynamics and appropriateness of the
form.
The cast will be done in a 2-part plaster mold. The object
should be a no larger than 5” in any direction. The object needs to be simple
enough to be cast using the process, but need not be symmetrical. The exact
limitations of the form will be shown during the in-class demonstration.
Concrete is defined as a mixture of crushed stone, sand, cement and water that hardens as a result of chemical reactions between the cement and water. Concrete means the wet mixture and also the hard material that results when it sets.
Cement is generally defined as any substance used to make things stick together. In the context of our art making, however, cement is Portland cement, defined as the fine grey powder that is made by burning limestone and clay. This is the active part of concrete that chemically combines with water to bind all the aggregates together.
Supplies: For this project, you will need to have 1 set of heavy-duty cleaning or dishwashing gloves, one small bucket, 2 good quality trash bags and paste wax (you are welcome to share this with other students). We will supply the wood, plaster, cement and sand. You may need to acquire any other aggregates you decide to add to the mix.
Due to the limited nature of this casting process, your design
needs to be primarily concerned with form. You can also make use of a limited
texture palette, but textures that rise too far from the surface will lock your
mold to the finished cast. You may also use limited negative space, as long as
there are no undercuts or extensive vertical surfaces. As you make your model,
try to design a form that is as interesting to touch as it is to look at.
Notes/Demo Prompts
Construction of
model:
Clay consistency
Clay amount
Building/carving techniques
Finishing
Mold making
Part line
Check for undercuts
Clay dryness
Building bottom portion of clay
Keys
Size of container
Box setup and preparation
Sealing mold box
Leak prep
Wax
Plaster Mixing/Pouring
Safety
Clean bucket
Amounts
Process
Mix ratio
Pouring into mold
Air bubbles
Consistency
Drying time
Cement Mixing/Pouring
Safety
Clean Bucket
Amounts
Recipe
Pouring
Covering
Dry time
