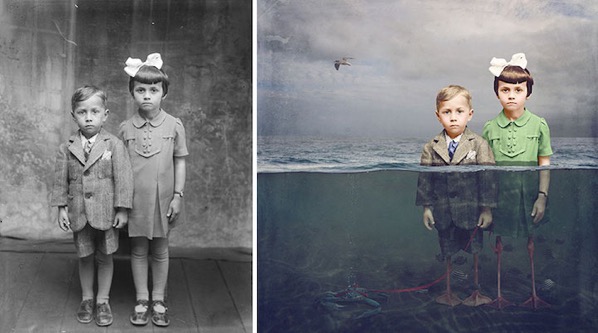
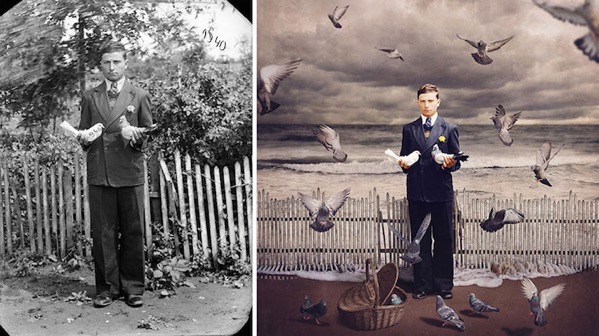
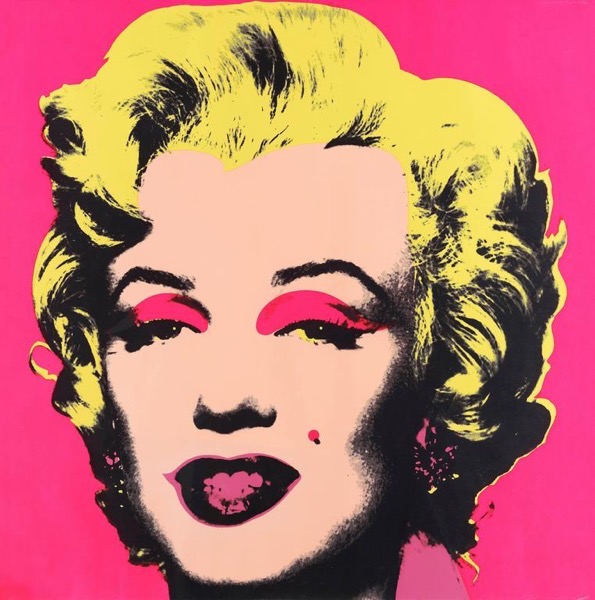
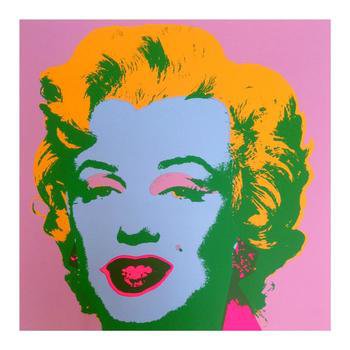
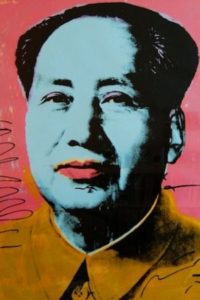
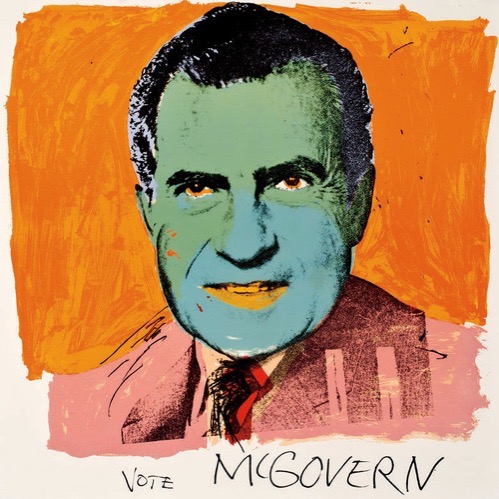
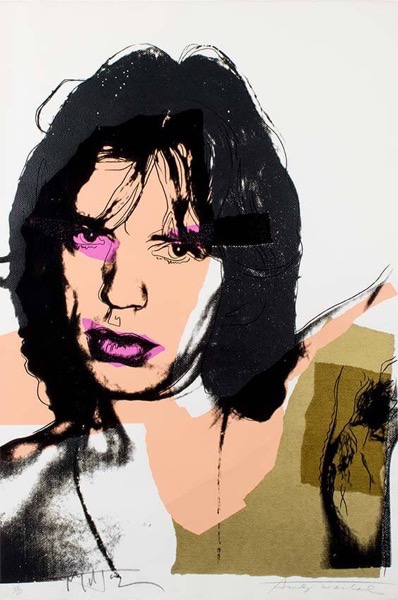
In this short project, you will colorize a historical photograph 2 different ways. The first way will be as realistic as you can do it, the second way will be inspired by Andy Warhol’s screen prints. You will combine these 2 images into a simple 2 frame gif that alternates between the 2.
Things you will learn during this process:
Advanced selections using the select and mask dialog
Masking
Blending modes
Color fill layers
Layer organization
Directions:
Pick a portrait from the archive here:
https://archive.org/details/flickrcommons
Or
Tip: search for “portrait”
Next, follow the techniques in the photoshop lecture to create a “realistic” color version.
Hide those layers and create a Warhol inspired version.
Open the timeline and animate between the two.
Some examples:
